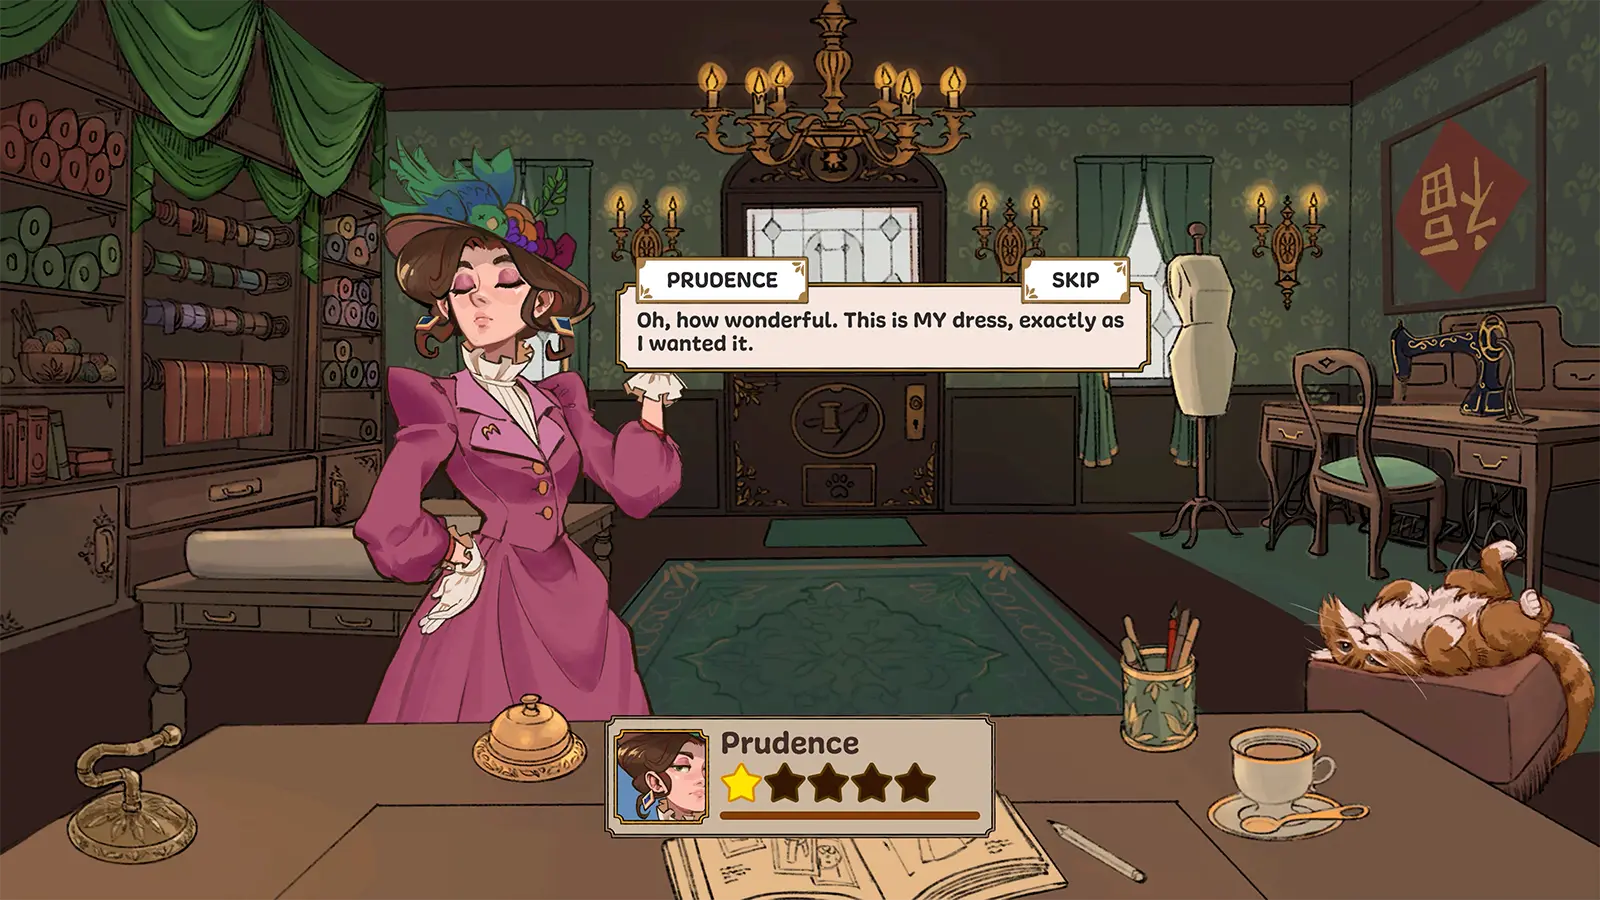
Pins are the quiet workhorse of the decoration phase in Dressmaker. Once a dress is sewn, everything you add on top — flower appliqués, bows, brooches — is pinned onto the fabric by hand, and where you place each pin decides whether the finished dress looks charming or cluttered. This guide explains how the Dressmaker pins system works, what pinning does to your evaluation, and how to fix placements you regret.
Table of Contents
Where Pinning Fits in the Game
Dressmaker's loop ends with decoration: after the final seam, the dress moves to the mannequin and you enter the accessories view. From there you draw from your inventory and pin decorations directly onto the dress. The official beginner guide groups pins with lace, trim, and piping as the finishing systems added from v0.4 onward — they are the step that turns a well-sewn dress into a memorable one.
How to Pin Accessories on a Dress
- Finish the seam. Pinning is only available after sewing completes and you choose to keep working on the dress.
- Open the accessories panel. Your owned accessories appear beside the mannequin, with quantities shown on each item.
- Select an item and place it. Click the dress to pin the accessory at that spot — flowers on the waistband, bows at the collar, buttons anywhere you like.
- Zoom and orbit to check. Use the zoom control to confirm the pin sits flat on the fabric instead of floating or sinking.
- Remove misplaced items. The Remove Item control takes a pinned accessory back off the dress if the placement is wrong.
Buttons are the most forgiving: you can place as many as you want, anywhere on the dress. Flowers and brooches are statement pieces — a few well-placed pins beat a crowded bodice.
What Pins Do to Your Evaluation
Customers evaluate every commission on visible style tags such as Flowers, Cute, Elegant, and Playful. Pinned accessories are how you hit those targets:
| Customer Wants | What to Pin |
|---|---|
| Flowers | Rose or silk flower appliqués on the waist, collar, or skirt |
| Cute | Bows, pastel buttons, small clustered accents |
| Elegant | A single brooch, minimal buttons, restrained placement |
| Playful | Scatter buttons, mix small flowers with bows |
The sketchbook lists each request's tag targets (for example, Flowers 60, Cute 30). Check those numbers before you start pinning, and watch the live tag meters climb as you place each item — they show exactly how close the dress is to the request.
Pinning Tips That Save Commissions
- Pin to the fabric, not to the seams. Accessories pinned over thick seam lines clip visibly; smooth panels hold them best.
- Match pin color to fabric. Red-headed pins on dark velvet read as part of the design; the same pins vanish on printed cotton. If a pin head draws the eye, move it.
- Step away between placements. Rotate the camera after every few items. Clipping is a known limitation of the current version, and it is much easier to spot from a new angle.
- Save the boldest piece for last. One large flower anchors a look; pin it after the small items so you can balance the composition.
- Don't over-pin for cheap orders. Accessories are bought with the same coin that buys fabric. A simple cotton work dress rarely needs more than a button change.
FAQ
Q: Do pins affect the quality score? A: No. Quality comes from grain alignment and sewing precision. Pins affect the style tags and the final look, which feed a different part of the customer's evaluation.
Q: Can I run out of pins? A: Accessories are bought from the emporium with coin, and each placement consumes one from your inventory. You can always buy more — budget matters on tight commissions.
Q: Why won't my lace sit flat? A: Lace placement is flagged by the developer as glitchy in the current version. Place it slowly, in small sections, and re-check from a second camera angle.
Q: Is there an undo button for a bad pin? A: There is no full undo, but the Remove Item control takes individual pinned accessories back off. Nothing pinned is permanent.
Q: Can I pin decorations before sewing? A: No. Decoration unlocks after a dress is sewn. The order is always design, cut, sew, then decorate.
Sources
Sources and known gaps
- Straight Pins for Sewing, Dressmaker Pins & Silk ... Source accessed:
- Dressmaker Pins Source accessed:
- Sewing Tips for Beginners - Office Pins or Dressmakers Pins Source accessed: